SERP Insight Guest Post Review: Traffic, SEO Value, Editorial Standards, And Whether It’s Worth It In 2026
Jun 12, 2026

As digital education is slowly turning the tide on traditional systems, learning models are becoming intuitive and interactive. And, gamified teaching is becoming the new norm.
That is, turning quizzes and Q/A assignments into interactive games. Making learning fun and interesting for students. So, they can grasp the ideas and concepts faster.
Moreover, this gamified learning helps assess the students’ performance in real-time while inspiring them to learn passionately.
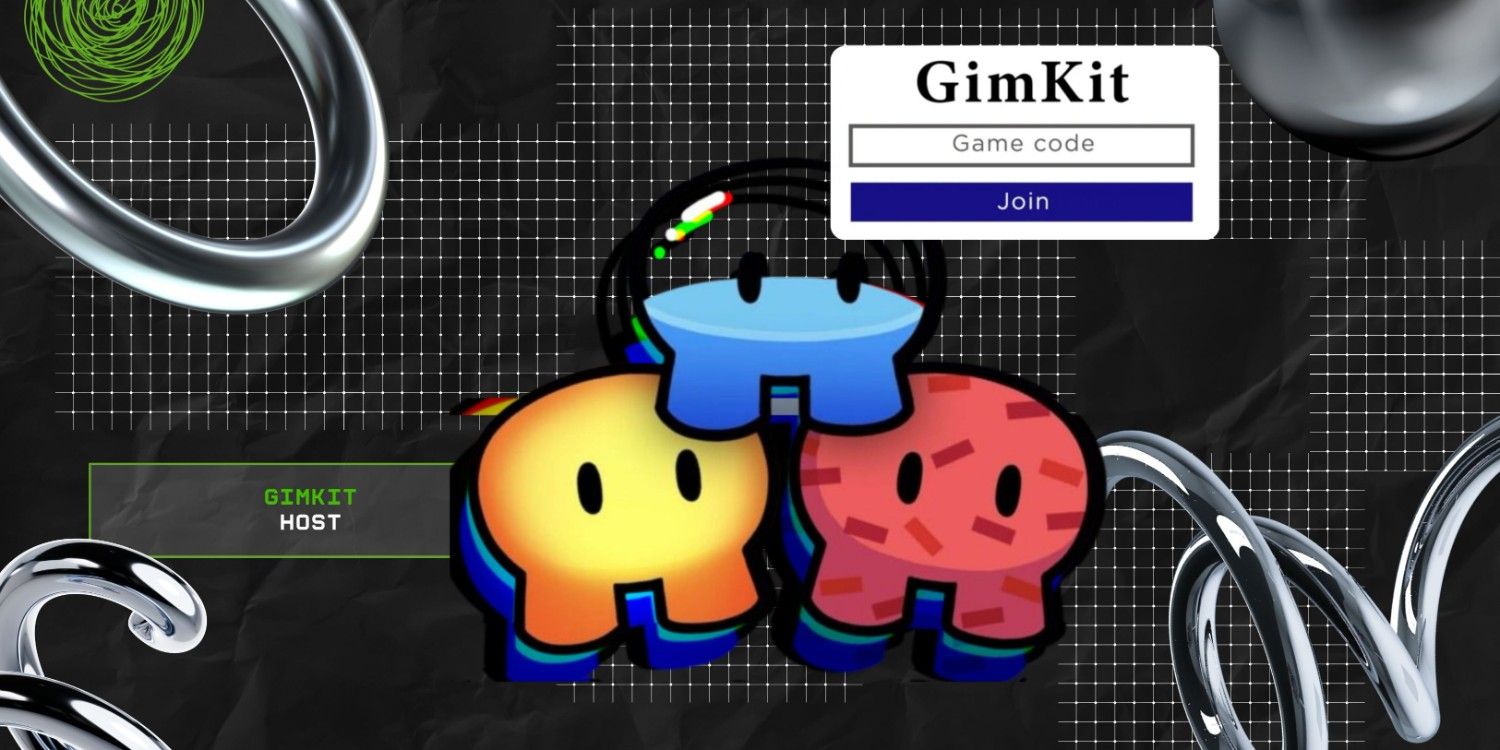
Now, among the various game hosting platforms, Gimkit Host is taking the spotlight for its unique features, customization options, and dynamic tools. Making it the trending tool in gamified digital learning.
But the real question is — “Is this game hosting tool worth the hype?”
Well, that’s exactly what I will be exploring today. In this blog, I am going to delve into the diverse aspects of Gimkit Host by focusing on:
Stay tuned!
To explain in simple terms, the Gimkit Host refers to the person who launches a new online game on the platform. That is, they can set up, introduce, and even manage access to the Gimkit game as a host.
Now, trainers, educators, or teachers can create interactive games for their students to learn the concepts and engage with the learning actively. So, helping them learn through the interactive sessions.
Moreover, the Gimkit Host allows the hosts to launch live gaming sessions and assign games as assignments.
So, the students can take their time to learn while playing the games online. Making it both a fun and flexible way to teach educational concepts.

Most of the popularity of the Gimkit Host lies in its diverse range of features and tools. So, some of these key features include:
Firstly, it offers real-time dashboards to track the students’ and players’ performance in the game. This makes it easier to monitor their learning capabilities and conceptual understandings.
Moreover, it allows the host to customize the settings for various games. So, based on the learning capabilities of the students, the teachers can adjust the games.
In addition to this, it technically offers three game modes to players — “Trust No One”, “Infinity Mode”, and “Classic”. So, the students can enjoy playing games in a variety of modes.
Apart from this, it allows students to play the games in groups. So, teachers can create group activity games to help the students collaborate and solve the games together.
Finally, it provides an analytical report of each player from the game. So, the teachers can analyze these performance reports to understand the learning outcomes.

Given that gamified learning is rapidly growing, educators are looking for guides on how to use it. So, here is a step-by-step guide for hosting games on Gimkit Host:
Firstly, you need to create a Host account by visiting the official site of Gimkit. That is, go to https://www.gimkit.com/ and select the Sign Up option.
Then, put all the personal information in and choose a paid subscription plan. This will complete the account creation process.
Then, open the profile dashboard and explore the My Kits, Assignments, and Classes. This will show all the interactive games that you post on the platform.
Now, from the dashboard, select the New Kit option and provide the necessary details. That is, choose a Name for the game kit, select the Language, and the Subject of the kit.
After that, manually add the questions and the multiple-choice options. Then, you can customize the gaming with Flashcards or images, videos, and more.
Remember, the goal is to make the game interactive and knowledgeable at the same time. So, ensure the design is not too distracting, or else the students won’t learn anything.
Once the design of the game is done, select the gaming mode from Classic, Trust No One, and more. This will help set the complexity level of the game.
Then, from the settings, mention the Time Limit, Upgrade options, and Objectives. This way, your students can play the game to achieve the mentioned goals.
Finally, click on the Finish Kit option to complete the game and publish it on the platform. Now, it is ready for your students to play and learn interesting concepts.
If you want to host the creative map on Gimkit, it’s better to create the design, then choose the hosting options. So, just follow these steps below to create and host the creative maps on Gimkit Host—
Even though Gimkit provides a simple interface for users to create and enjoy games while learning new concepts, it has its own issues. So, resolve these issues, just follow these troubleshooting methods—
Creating an interactive game for the students is not a simple task. That is, you need to host an interesting game with easy gameplay and interactive activities. So, here are some tips to effectively host a game on Gimkit:
Now, teaching these little geniuses in the era of digitalization is not easy-peasy. So, tweak their experience with the various concepts with the right kind of games on Gimkit Host today!
Here are some of the common questions that most users of Gimkit Host usually look for.
Obviously, a paid account is best for hosting games on Gimkit Host. Since it provides unrestricted access, adjusting options for game modes, and other additional features, it is better to opt for the paid version of the Gimkit Host.
One of the simplest methods to move the host spawn in Gimkit is by putting it on a host pad. So, here’s how to move the host spawn in the Gimkit Host—
‣ Place a spawn pad under the host spawn and change the “Allowed Player Type” to “Game Host”.
‣ Then, put spawn pads under the other player spawns and change their “Allowed Player Type” to “Players”. So, the host cannot spawn at the players’ locations.
‣ This way, you can ensure that the host spawn remains at its designated pad.
Based on the type of Gimkit you are using, the publishing and unpublishing steps change. That is, if you are using the Gimkit Live (standard) version, follow these steps to publish or unpublish—
a)Go to the profile dashboard and select the game kit you wish to publish.
b)Then, from the right-hand pane, choose the privacy tag and change the setting from Public to Private or vice versa.
c)If you choose Public, the game kit will be published, and if you choose Private, the game kit will be unpublished automatically.
d)Then, select All Done at the end to save the changes.
But if you are using the Gimkit Creative (maps) version, follow the steps below for publishing or unpublishing—
‣ Go to the map you wish to publish and open the Options tab.
‣ Then, select the Publish and Save option from the menu. It will prompt you to enter the Name and Thumbnail.
‣ Add those details and confirm the adjustments by paying 1000 GimBucks.
Moreover, you can also unpublish the creative map using the same process. But if you want to republish the map, you need to pay the 1000 GimBucks again.
There are a few common reasons why students cannot join the Gimkit host. So, the most common issues that prevent students from joining the game host include—
‣ Providing incorrect game code that redirects the joiners to other game hosts.
‣ Facing a player limit while joining, as specified by the gaming host.
‣ Adding restrictions on networks and a firewall over the school’s connection servers.
‣ Having unstable internet or fluctuating personal network connections.
‣ Lacking a paid version to access premium gaming hosts on Gimkit Host.
Read Also:
Chandrima is a seasoned digital marketing professional who works with multiple brands and agencies to create compelling web content for boosting digital presence. With 3 years of experience in SEO, content marketing, and ROI-driven content, she brings effective strategies to life. Outside blogging, you can find her scrolling Instagram, obsessing over Google's algorithm changes, and keeping up with current content trends.
View all Posts

SERP Insight Guest Post Review: Traffic, SEO ...
Jun 12, 2026
Can People See When You View Their Profile on...
Jun 10, 2026
The Production Gap: Moving Beyond Randomness ...
Jun 09, 2026
I Tested 35 Productivity Chrome Extensions Fo...
Jun 09, 2026How To Write Soccer Articles That Rank In Sea...
Jun 09, 2026