Spotify Unblocked: Why Spotify Gets Blocked And What You Can Do About It?
Jun 22, 2026
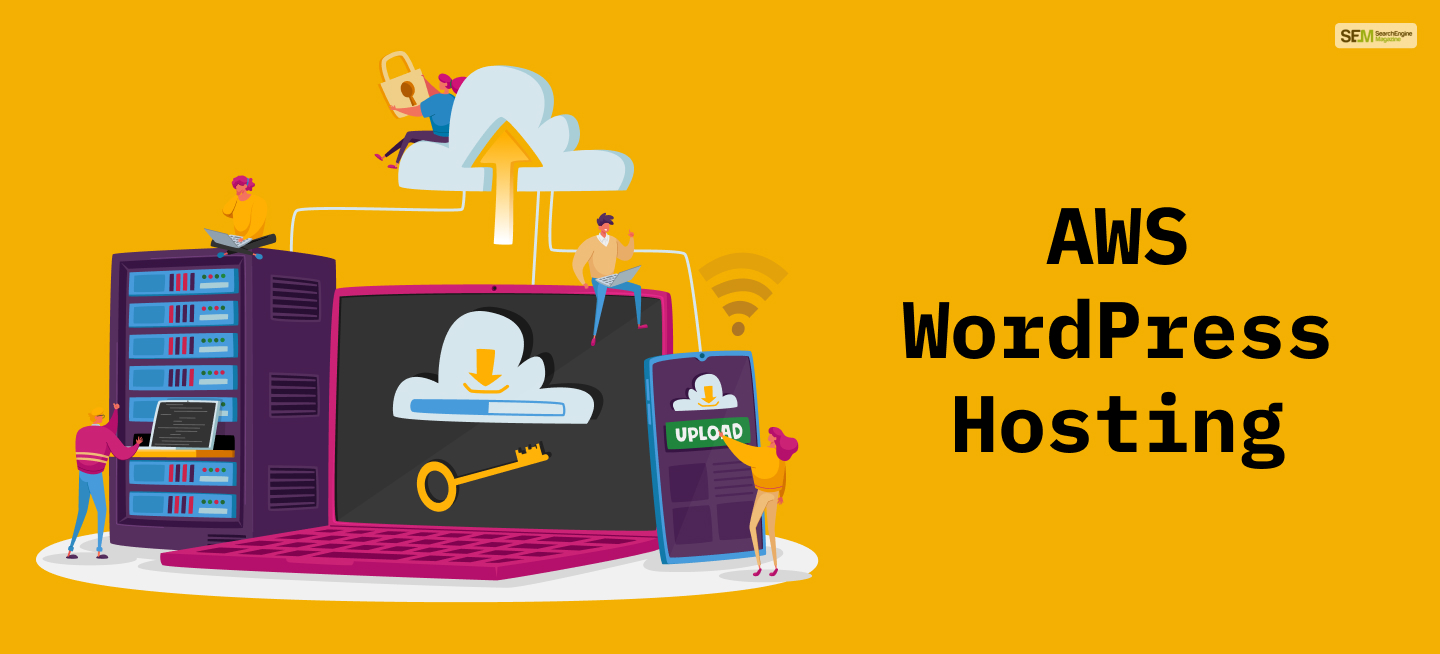

AWS WordPress Hosting: Amazon Web Services is one of the best cloud computing and hosting services in 2024. Its cost-efficiency, security layers, and fantastic cloud infrastructure draw in millions of new users.
Therefore, if you wish to choose web hosting platforms for your WordPress website, I recommend choosing AWS WordPress hosting.
But why must you do so? For example, some of the biggest websites of brands like Netflix, Facebook, LinkedIn, BBC, and more use WordPress hosting on Amazon.
Therefore, if you wish to host WordPress on AWS, read this post till the end.
AWS has become one of the most essential cloud WordPress hosting services due to its swath of almost unlimited features.
However, you must wonder: “What makes AWS WordPress Hosting better than other hosting services like InMotion Hosting?”
This question has many answers. However, I will explain it by highlighting four of its primary benefits. They are:

AWS WordPress hosting has a record 99.9% server uptime – making it the world’s most stable hosting provider. Moreover, the Service Level Agreement (SLA) states that if its uptime falls below 99.9% uptime – you will get a 10% credit refund as service charges. Furthermore, this goes up to 100% if the server uptime falls below 95%!
However, if you check out the AWS server uptime status, you will notice that the server uptime stays at 99.9%. Therefore, you might see some server outages once in a blue moon.
Moreover, if AWS servers suffer downtimes, you will notice it immediately on social media since AWS WordPress hosting hosts one-third of all WordPress websites!
When you decide to set up AWS WordPress hosting, you can do so according to two customizable options, which are:
Lightsail
The AWS Lightsail Instance lets you choose which kind of virtual machine you wish to use to host your website. Choosing your virtual machine is one of the best features of AWS since almost no other WordPress hosting service provides this much customizability.
Moreover, you can customize your virtual machine to a certain degree. AWS lets you select its OS and pre-install WordPress, RAM, vCPU, SSD storage, and bandwidth as well! Furthermore, you can upgrade it per your hosting plan, letting you run your website on supercomputers – if you can pay for it monthly!
EC2
Since AWS Lightsail uses a virtual machine to host your website, you can opt for WordPress cloud hosting using the AWS EC2 Instance. For many users, this might be a better solution, depending on your website type and its requirements.
Moreover, this will be a better option if you know how to configure a VPS cloud server. However, unlike Lightsail, you must pay for EC2 instances hourly.
AWS WordPress hosting has cloud server data centers in more than 245 countries across 26 regions. No matter where you live, an AWS data center is not far away. Therefore, your website will remain stable, with a 99.9% uptime!
Moreover, Amazon also plans to open new data centers in other regions. Right now, reports indicate that they plan to do so in eight new countries.
Furthermore, AWS also offers 300 Edge locations for faster website loading speed and 13 regional caches for data collection. Therefore, you get a built-in CDN (Content Delivery Network) to manage your performance!
AWS WordPress hosting includes various built-in tools to enhance and optimize your website’s performance. You can access most of these tools using the Lightsail instance, which has many available EC2 Instances.
For example, you can activate the built-in CDN that uses all AWS regional caches and edge locations to improve page loading speed.
Moreover, you can use load balancers for segregating incoming traffic under many instances to ensure your website speed remains stable. Furthermore, you can view all your website metrics for every AWS WordPress hosting instance you have. In addition, you will always get notifications whenever your website faces a heavy load!
One of the best things about AWS WordPress hosting is its various tiers regarding customer support. The higher you go in the tier list, the better services you get. However, these tiers require extra payment – in addition to your hosting charges.
Therefore, the three AWS WordPress Hosting tiers are:
Basic Support
Price: Free
This free WordPress hosting customer service tier is free for all AWS web hosting users. This tier is meant for people who are new to AWS WordPress hosting. With this tier, you get:
Developer Support
Price: $29/month
This tier is for people with experience in website development using AWS. With this tier, you get additional benefits like:
Business Support
Price: $100/month
This tier is for you if you run high-end production workloads using AWS WordPress hosting. With this tier, you get you get additional benefits like:
AWS WordPress hosting gives you control over various firewall and website security options. With Lightsail, you can customize your firewall bypass rules. For example, you can limit the SSH connection to specific IP addresses and ports.
Moreover, to create backups of your instances, you can create AWS Snapshots whenever you want. Furthermore, you can use the AWS Automatic Snapshot tool to create instance backups daily. However, you can store snapshots for a maximum of seven days.
If you wish to host a WordPress website on AWS, you will be charged for three things – a WordPress instance (Lightsail or EC2), a CDN distribution, and an object storage bucket.
Moreover, AWS WordPress hosting has various pricing plans depending on your chosen instance. Therefore, both Lightsail and EC2 have different pricing plans and structures. They are:
The various pricing tiers for AWS Lightsail hosting depend on which OS you choose for your VPS. They are:
If you want a Linux/Unix VPS, then here are your available options:
If you want a Windows VPS, then here are your available options:
AWS CDN Distributions
A CDN distribution lets you spread your website content globally, making it available on servers in other countries. Therefore, AWS has three monthly prices for CDN distribution:
As the name suggests
3. AWS EC2 Hosting
If you opt for EC2 WordPress hosting on Amazon, then the pricing differs significantly from the plans above. This is because your EC2 hosting payment is made hourly instead of monthly.
Moreover, how much you pay also depends on which region and instance you wish to avail of – since the prices change occasionally. You can find more information regarding AWS WordPress hosting EC2 prices here.
There are two ways to host an AWS WordPress site – through a Lightsail instance or an EC2 instance.
After signing up and creating your new Amazon AWS account, you must verify your credit on the platform. After you do so, you must follow the steps below.
Now, you must install WordPress on AWS. Follow the steps below to start this process:
First, you must sign up for an AWS Free Tier for 12 months. However, remember that if you use the AWS Free Tier, you should use EC2 Micro Instances.
Next, you must log in to your AWS account. After you do so, you must open the AWS Management Console.
Now, you must double-click on the EC2 option under Compute. This opens your AWS EC2 dashboard. Once you open the dashboard, click Launch Instance to start configuring your AWS EC2 Instance.
You will find the AWS Marketplace option on the left of the screen. Click on it to open it. Once you do so, search for WordPress powered by BitNami and click the blue Select option on its right.
Once you select WordPress above, the pricing page opens. However, there’s no need to worry since it’s free for the first year. After the year ends, you must start paying the amount shown on the screen here. Therefore, click on Continue at the bottom of the page.
Next, click on the t2.micro instance from the list of available instances. Then, click on Next: Configure Instance Details. Once you do so, a new page will open. Here, click Next: Add Storage, then click Next: Tag Instance.
Since you are using the AWS Free Tier, there’s no need to click on any other option here since they are already pre-configured for you.
Once you enter the Tag Instance page, you will see two options – Key and Value. Now, you must give your WordPress instance a name under the Key option. In addition, you must select WordPress under the Value option.
Once you do so, click on the Review and Launch option at the bottom of the page. This will open the Review Instance Launch page. Check all the instance details (especially the Key and Value), and finally, click on Launch once everything is correct.
A new page – “Select an existing key pair or create a new key pair,” will open. Here, select Proceed without a key pair. Next, check the approval box stating that you acknowledge it. Once you do so, click on Launch Instances.
Once you complete the step above, you will see a new section listing all your EC2 instances. Therefore, you must check to see if your WordPress instance is running. If it is, then it will have a green icon with Running under the Instance State section.
However, don’t fret if it has a Launching status. It might take a few minutes to get it running.
Once your WordPress instance is running successfully, click on it. Here, you will see five tabs open – Description, Status Checks, Monitoring, Tags, and Usage Instructions. You must open the Description tab and copy the Public IP code.
Once you do so, open a new browser tab and paste the IP. It will automatically open your WordPress website!
Finally, you must configure your WordPress website. To do so, open your EC2 Dashboard and select your WordPress instance.
Next, click on Actions. After seeing the drop-down options, open Instance Settings > Get System Log.
Now, a screen will open with lots of green codes. Here, look for a box surrounded by hashes to find the Getting Bitnami application password to ‘xxxxxxxxxxxx’ section. Now, copy the password.
After you copy the code, open the other tab with your WordPress site open. Type /admin at the end on its URL and click on Enter.
Finally, your WordPress admin login page will open. Here, type User as your Username and paste the password you copied. This will open your WordPress dashboard, letting you do whatever you wish!
However, I recommend you change your WordPress username and password from the dashboard.
If you want the best cheap WordPress hosting solution for your website, AWS WordPress hosting is your best bet. It has many tools and features that make WordPress hosting and management easier than before.
Therefore, I hope this post helped you transition to AWS WordPress hosting and make your site better than before!
Thanks for reading! However, if you have any questions, please comment below!
Also read
Mashum Mollah is the feature writer of SEM and an SEO Analyst at iDream Agency. Over the last 3 years, He has successfully developed and implemented online marketing, SEO, and conversion campaigns for 50+ businesses of all sizes. He is the co-founder of SMM.
View all Posts

Spotify Unblocked: Why Spotify Gets Blocked A...
Jun 22, 2026
Colorizing Old Photos With AI: A 2026 Guide T...
Jun 20, 2026
SEO For Watch Retailers: A Practical Guide to...
Jun 19, 2026
Native Ads Vs Popunder: Which Format Works Be...
Jun 19, 2026
How Local SEO Helps Businesses Compete Agains...
Jun 19, 2026