MobileCreativeOrg Review: Is This Emerging Mobile Tech Resource Actually Worth Your Time?
Jun 17, 2026


Today’s topic: How to fix DNS server not responding?
I know you are thinking, “Where am I going with this one?” Trust me, it might seem boring now, but the day you face this annoying issue, you will remember me and my guide on resolving it.
So without wasting time, I am going to dive deep into solving the ‘DNS not responding’ error – and ensure there is more than one solution to help you out.
Stay tuned!
DNS (Domain Name System) is much like the phonebook of the internet.
So, it basically translates domain names that are human-friendly into IP addresses that are computer-friendly.
For example, ‘www.hostwinds.com’ is a domain name that translates to ‘192.168.1.1,’ which is an IP address, thanks to DNS.
As a result, when anyone comes across the ‘DNS not responding’ issue, it means their browser is facing trouble connecting to the DNS service for performing the required translation.
So when your DNS is not responding, it is possible to face difficulties while browsing the internet.
But how can anyone even understand that they are facing DNS response problems? Or is it just bad connectivity? Confusing, right?
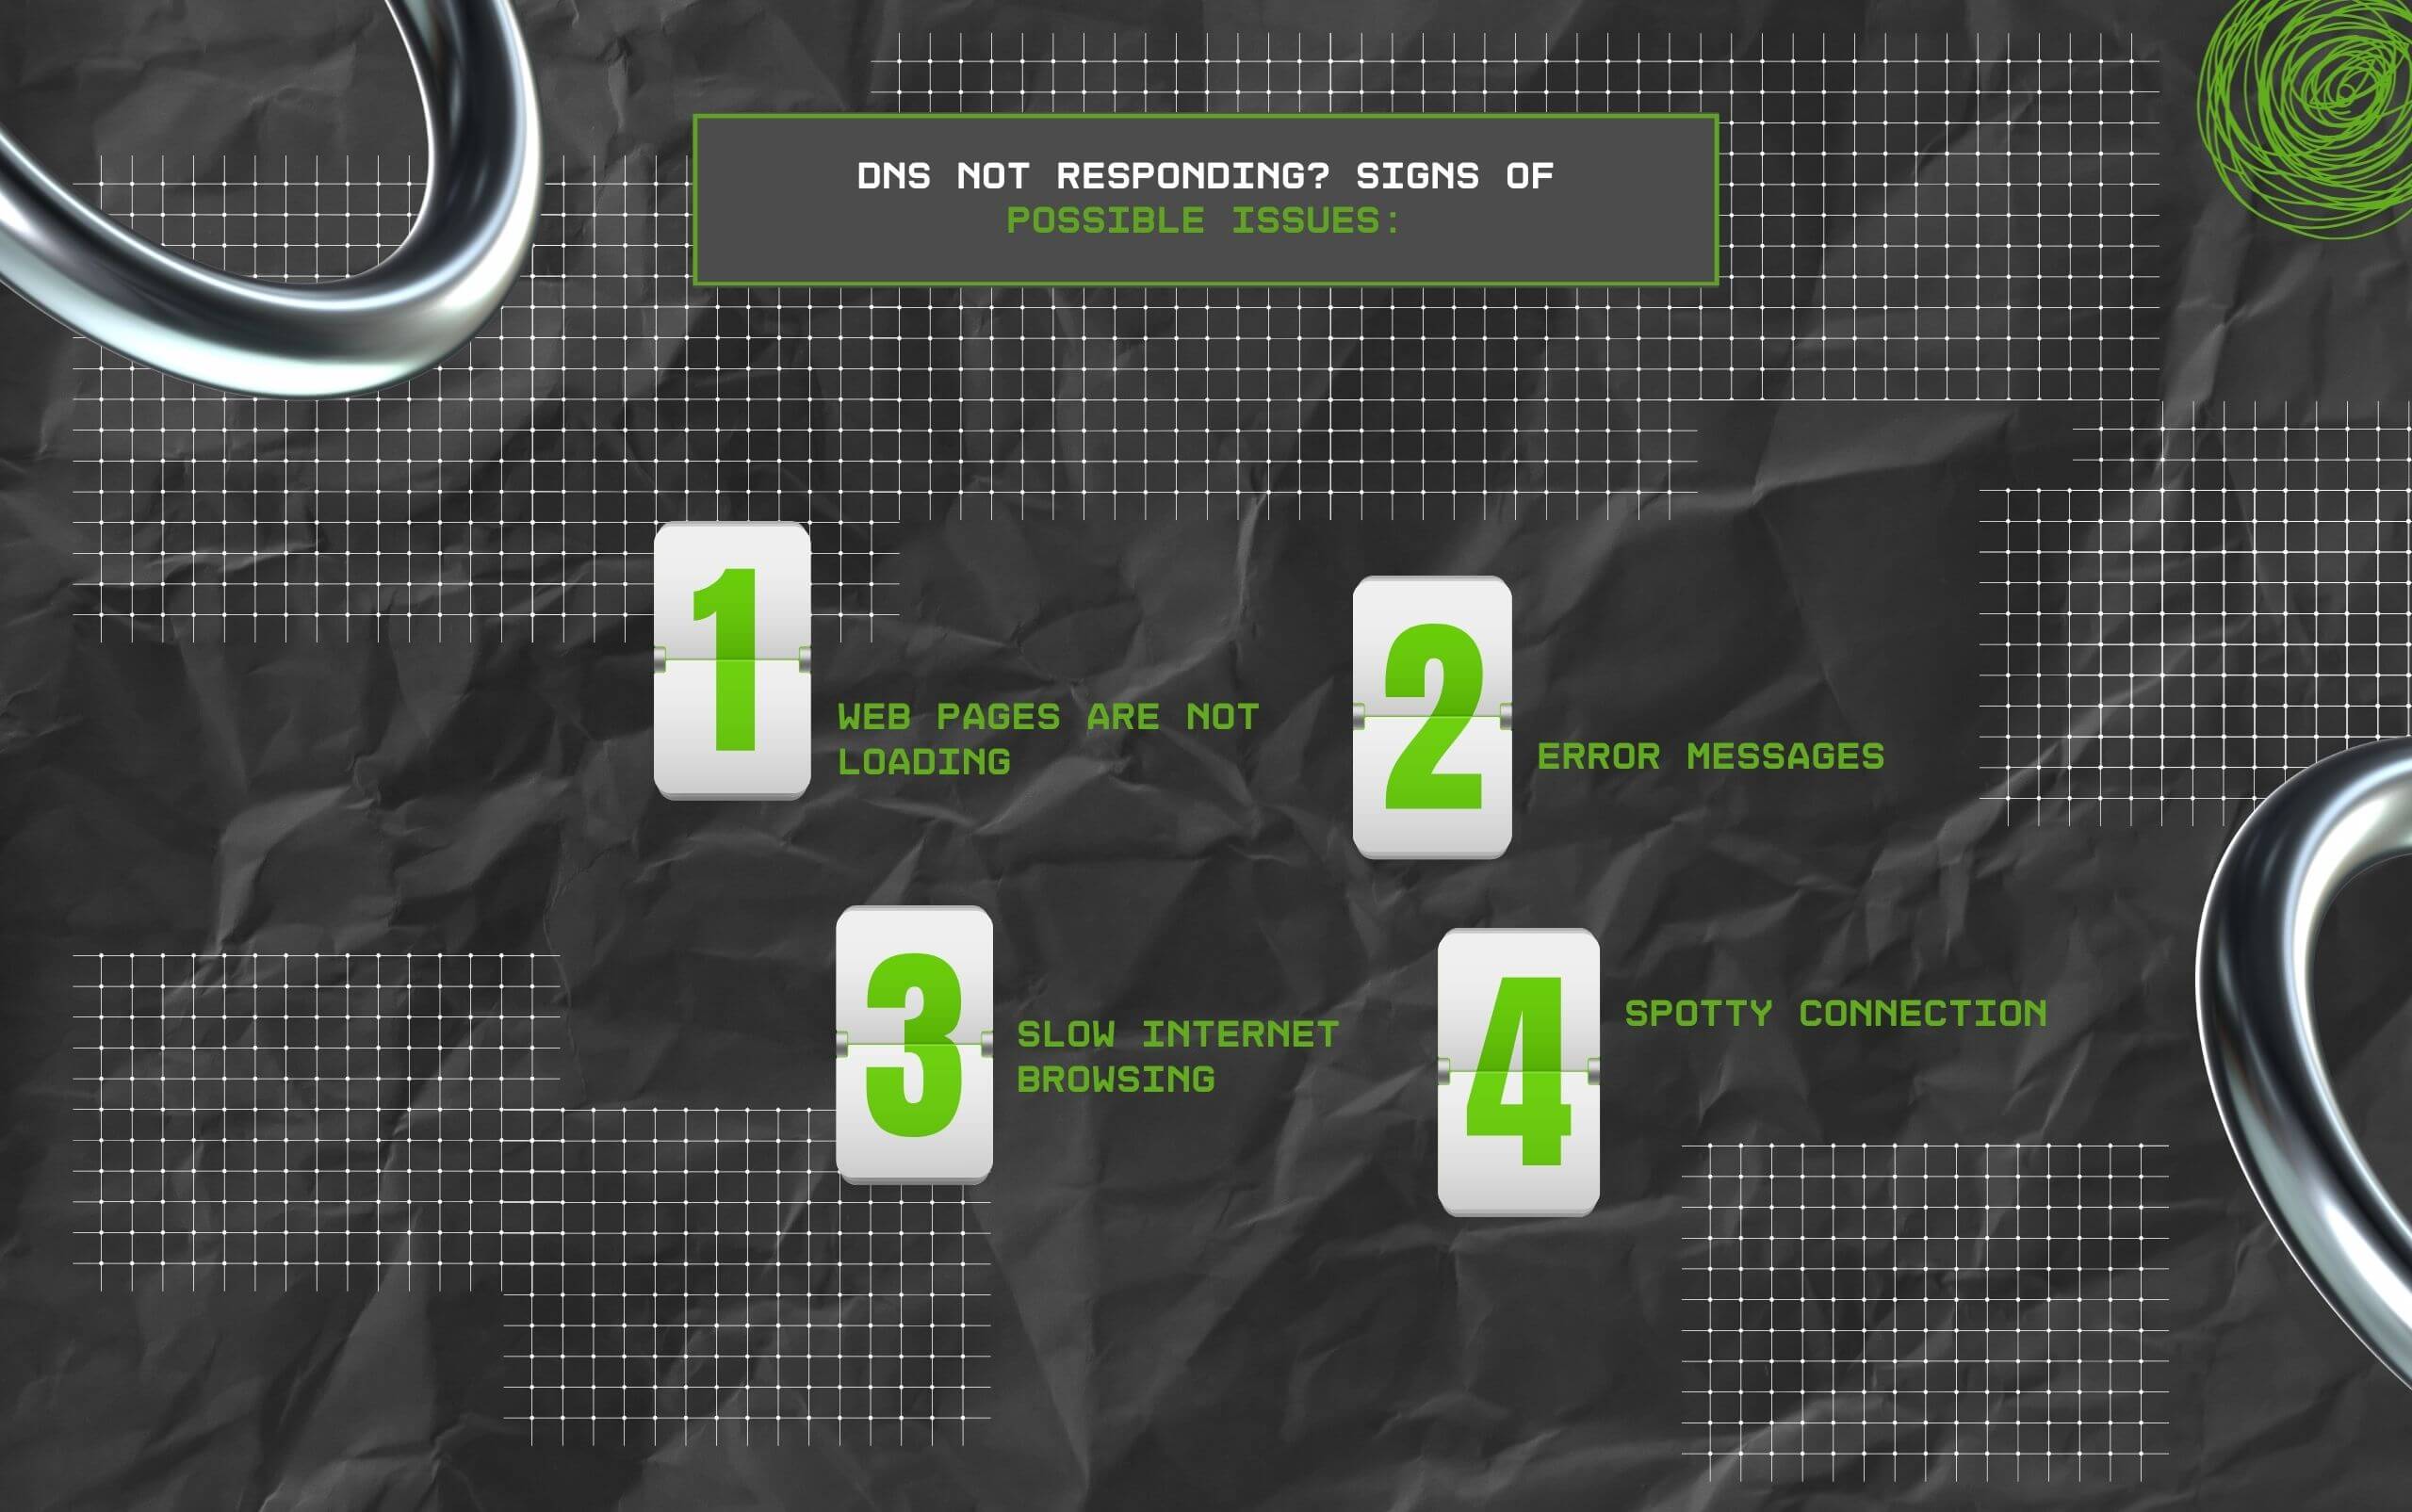
This is precisely why I’ve tried my best to highlight all the possible issues that are stopping your DNS from responding:
Perhaps one of the most obvious signs that your DNS isn’t responding is the failure to load any web page.
So when you are typing a website URL in the address bar of your browser and hitting ‘Enter,’ the browser will depend on the DNS to find the subsequent IP address.
Now, without any working DNS, the browser will not be able to translate the domain name.
This, in turn, will leave you in front of a blank page or worse, a never-ending (super frustrating) loading spinner.
You might come across error messages like ‘DNS Probe Finished No Internet,’ or ‘DNS Service Not Responding.’
These error messages are direct communication from your device that it has failed to connect with the DNS service and retrieve the required data.
Even if a web page loads eventually, you might notice that the speed of your internet connectivity becomes slow and sluggish.
This usually happens because your device is struggling with resolving domain names. And this, in turn, is causing delays in terms of fetching the web content.
Also, it is possible that online games will lag, video streaming will endlessly buffer, and downloads will become time-consuming.
DNS issues are usually intermittent. So, while some websites will load, others might not. Also, it is possible that your internet connectivity might undergo fluctuations for a whole day.

When any DNS-related issues interrupt internet connectivity, it is useful to know how to solve them effectively. And with my help, you can troubleshoot this error and resolve it.
I have done my best to compile the 8 most effective ways of solving this error below – my advice? Don’t give up before trying them all out!
Sometimes, the simplest approach might just be the correct one. You can just update or switch your browser.
So, if you see that switching browsers actually works, then you can make it your default browser.
For example, I used to face major problems with accessing Google Docs from Chrome last year.
As a writer, this was causing significant delays in my deliveries. So, I switched to Microsoft Edge for a few weeks for a smoother experience.
It is possible that your router might be holding too much data, which in turn is causing bottlenecks when you are attempting to access the World Wide Web!
In that case, you can turn off your router and unplug it – now, wait for atleast 30 seconds before you can plug it back in and turn the router on.
Also, once you restart it, wait for it to boot up before you can try to access the website you were trying to open initially.
This one has always been my favorite go-to option. So, if your operating system is not working properly, it could cause a DNS response error.
In such cases, you can restart the computer, but do it in Safe Mode to limit the resources and files used. Also, some of the stored data may be causing the DNS server response issue.
DNS cache on a user’s router or device can get corrupted or outdated over time. This, in turn, can stop your DNS from responding.
Misconfigured settings in the DNS server can disrupt the normal flow of the server.
Moreover, this is prone to happen if you tend to manually set server addresses that are inaccurate or no longer functioning.
As a result, it is always an excellent idea to set up a system in a way that it can automatically detect and subsequently connect to the available DNS server.
Security software or a firewall can easily block all DNS queries. This, in turn, can prevent a user’s device from contacting DNS servers.
In that case, I have explained how you can reconfigure your firewall or security software for both macOS and Windows:
The transition to IPv6 from IPv4 can cause DNS compatibility issues. Moreover, this can lead to the DNS server failing to respond to errors. This is especially true for older systems.
When your ISP (internet service provider) experiences any DNS issue, you might witness the ‘DNS not responding’ error.
Now, this is not really your control. So, you can do only one thing in this case – just contact your ISP and report the issue.
Also, while you’re waiting for your ISP to solve the issue, you can consider switching temporarily to an alternative DNS server, like:
a) OpenDNS (208.67.220.220 and 208.67.222.222).
b) Google DNS (8.8.4.4 and 8.8.8.8).
While the ‘DNS server not responding’ error is frustrating and causes unnecessary delays, it is not the end of everything!
Moreover, it is a temporary issue that you can actually solve easily, thanks to my comprehensive guide focusing on effective solutions for this problem.
Also, you know how to identify the issue as well. In that case, quit worrying and get back to browsing the internet without any interruption.
Read Also:
Barsha is a seasoned digital marketing writer with a focus on SEO, content marketing, and conversion-driven copy. With 8+ years of experience in crafting high-performing content for startups, agencies, and established brands, Barsha brings strategic insight and storytelling together to drive online growth. When not writing, Barsha spends time obsessing over conspiracy theories, the latest Google algorithm changes, and content trends.
View all Posts

MobileCreativeOrg Review: Is This Emerging Mo...
Jun 17, 2026
Why Does Google Celebrate Different Birthdays...
Jun 17, 2026
How Mobile Voice Search Is Reshaping Local SE...
Jun 17, 2026
Achieve More Natural Shadows And Reflections ...
Jun 15, 2026
The Error Softout4.v6: Causes, Fixes, And Tro...
Jun 15, 2026