Top SEO Companies For Small Business In India
Jul 15, 2026
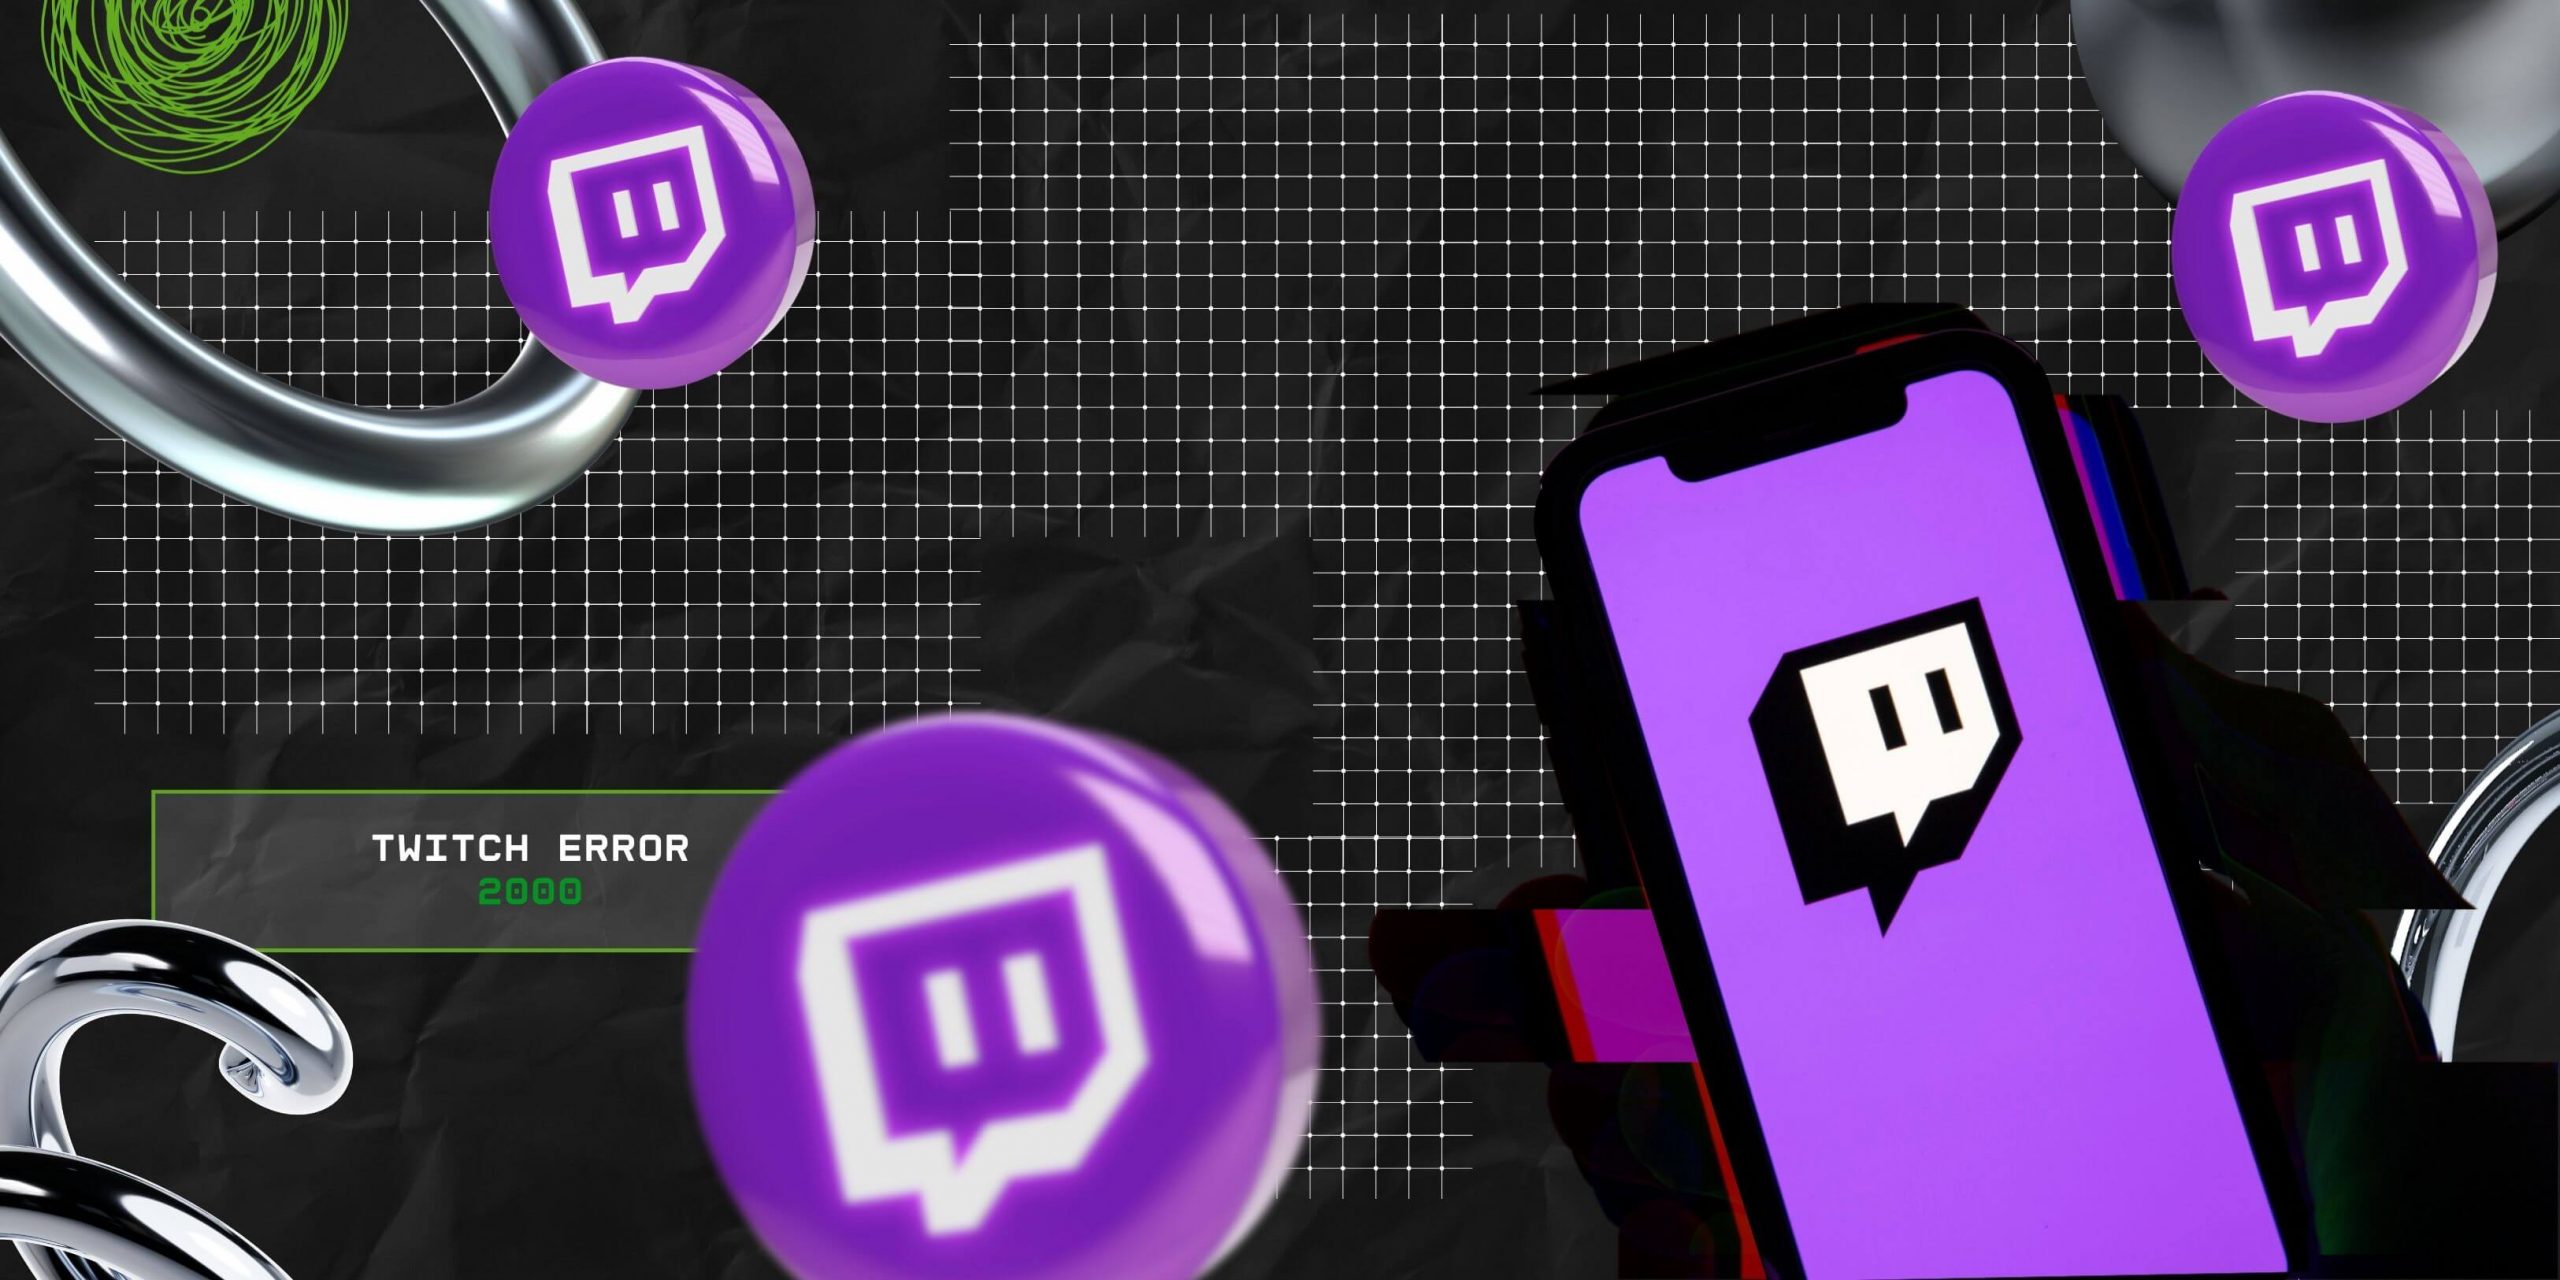

If you love watching live streams on Twitch or enjoy streaming yourself, then chances are you have come across the common Twitch error 2000.
Doesn’t ring a bell? I am talking about this particular error message: “Network Error #2000.” Well, you aren’t the only one – we have all been there! Sometimes, users encounter this message while they are watching a live stream.
Needless to say, it is super annoying! And that is precisely why I’m here – to help you with two things:
Stay tuned.
If you love watching live streams or enjoy making them, then you have heard of Twitch.
Owned by Amazon, Twitch.tv is a popular live streaming platform with thousands of subscribers on both Mac and Windows alike. Also, the platform witnesses more than 15 million active users daily.
Moreover, the popular platform focuses on creative content, e-sports, and video games. Needless to say, millions use the platform to watch live broadcasts and gaming streams. Plus, many creators make relatable and helpful content in niches like music, art, and cooking.
Sometimes, while you are watching live streams on Twitch, it is possible to get a network error message from the platform.
Typically, it says, “There was a network error. Please try again (error #2000).” Naturally, it gets frustrating for users, especially if you are watching something live.
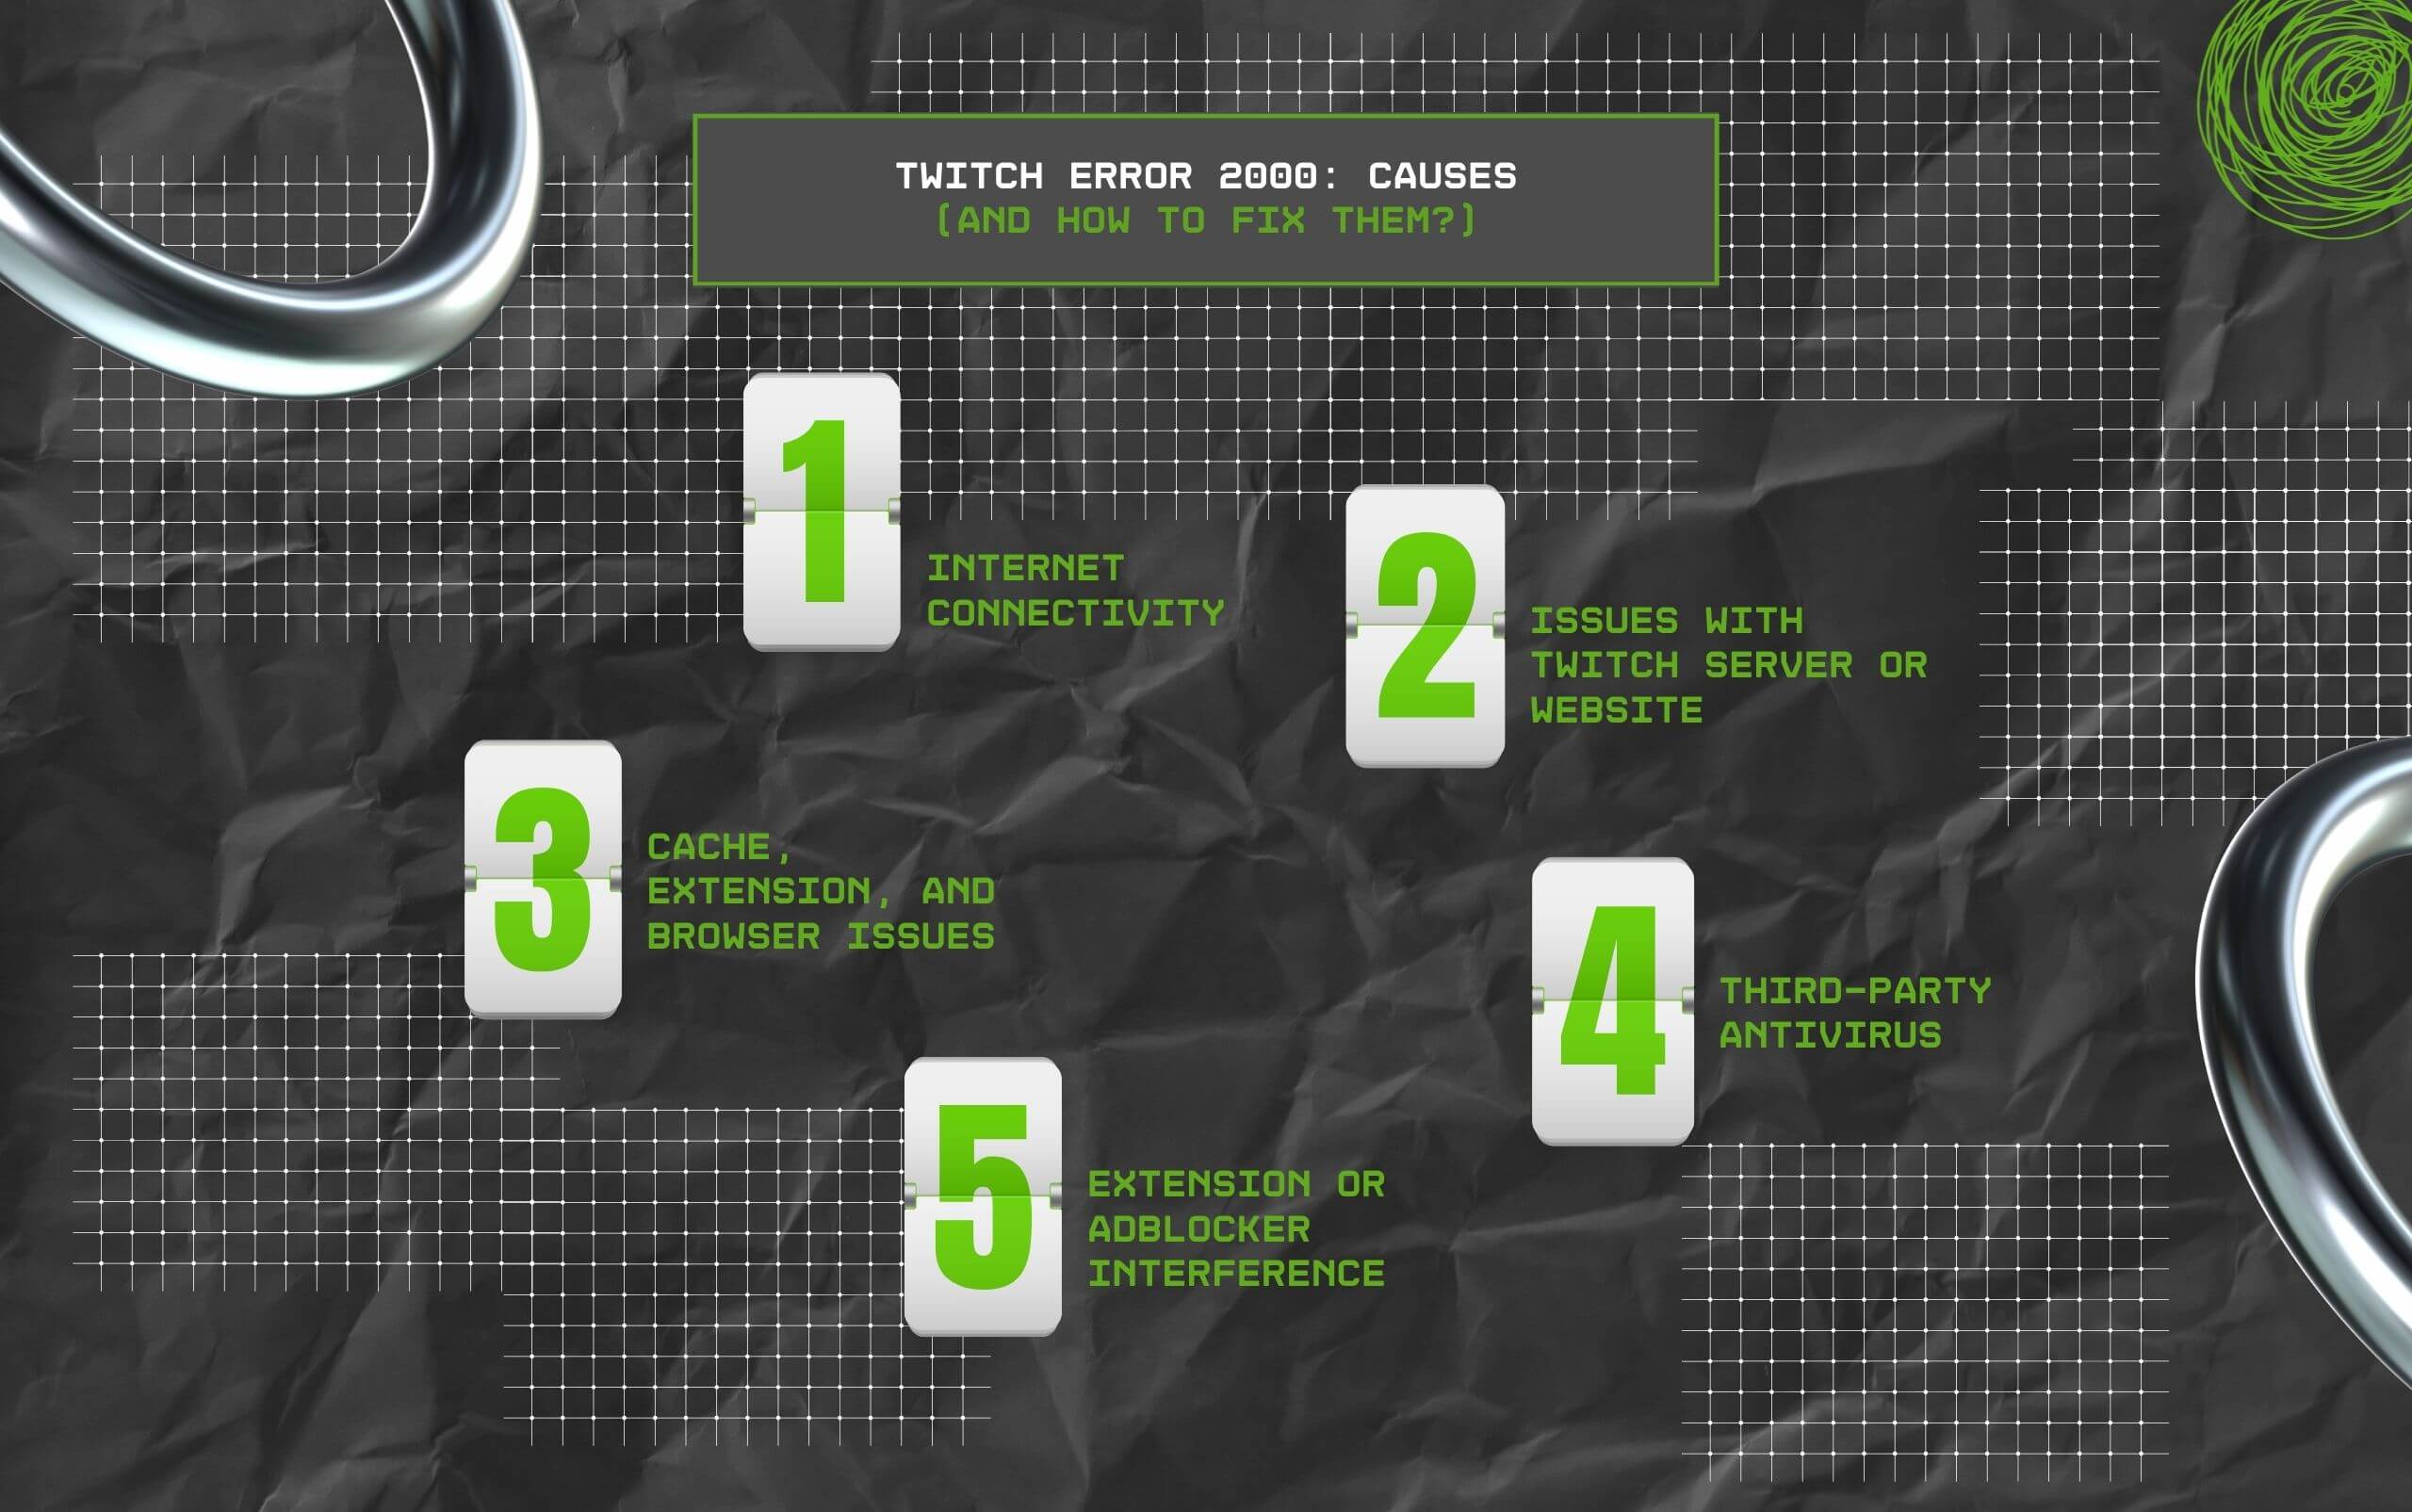
What are the causes behind Twitch error 2000?
While you are trying to watch live streams on Twitch, I’m sure you have come across this message multiple times: “There was a network error. Please try again (error #2000).”
Interestingly, this can happen due to several reasons, including:
This network error on Twitch is generally due to an issue with your internet connectivity.
In this case, it is best to verify your internet connectivity, then refresh your screen to view the stream without interruption.
Also, your network or router can cause issues with Twitch. So, it is best to check your router once for any possible issues. Moreover, you can also reset the router to its default settings.
Additionally, if you are using any DNS server as provided by your ISP, it might not always work properly. In that case, you can switch to another DNS server and check if that resolves the issue.
Just as with your internet connectivity, there can also be a problem with Twitch’s servers or website.
In this case, log out of your Twitch account and then log back in. Why? Because logging out from the streaming platform and logging in again prevents internal bugs and server-side issues. As a result, this might resolve the problem.
There can be a problem due to a plugin or an extension that you have installed on your web browser.
In this case, it is best to clear your browsing data. Sometimes, your browser cache can become corrupted, causing issues with loading videos on Twitch. As a result, clear the data you don’t need anymore and try to access Twitch again.
Also, to resolve browser issues, just switch to another browser and check if it solves the problem. So, if you are accessing Chrome, you can try using Microsoft Edge and vice versa.
In some cases, third-party antivirus software is the cause of network errors on Twitch. Also, third-party antivirus software can limit your Twitch experience by restricting certain activities.
You can temporarily disable any third-party antivirus software from your browser when you are watching live streams on Twitch.
Additionally, if nothing works, you can always restart your device and access Twitch again.
Sometimes, you might face network errors due to the interference of third-party adblockers or your browser extension with Twitch’s website.
You can temporarily disable ad blockers and other browser extensions to ensure uninterrupted streaming on Twitch. Also, if you aren’t sure whether this is the issue, you can try disabling all browser extensions and reloading Twitch to see if that resolves it.
So, if you can resonate with any of these issues, don’t worry!
I’ll go over each problem in detail and discuss how to resolve it. That way, you can fix Twitch error 2000 and continue watching live streams.
Twitch error #2000 is super common! Moreover, so many Twitch users have reported facing this problem.
This irritating network error is usually a result of poor or insecure network connectivity.
And while I have highlighted the common causes and quick ways to troubleshoot the issue, here’s a detailed version help you out.
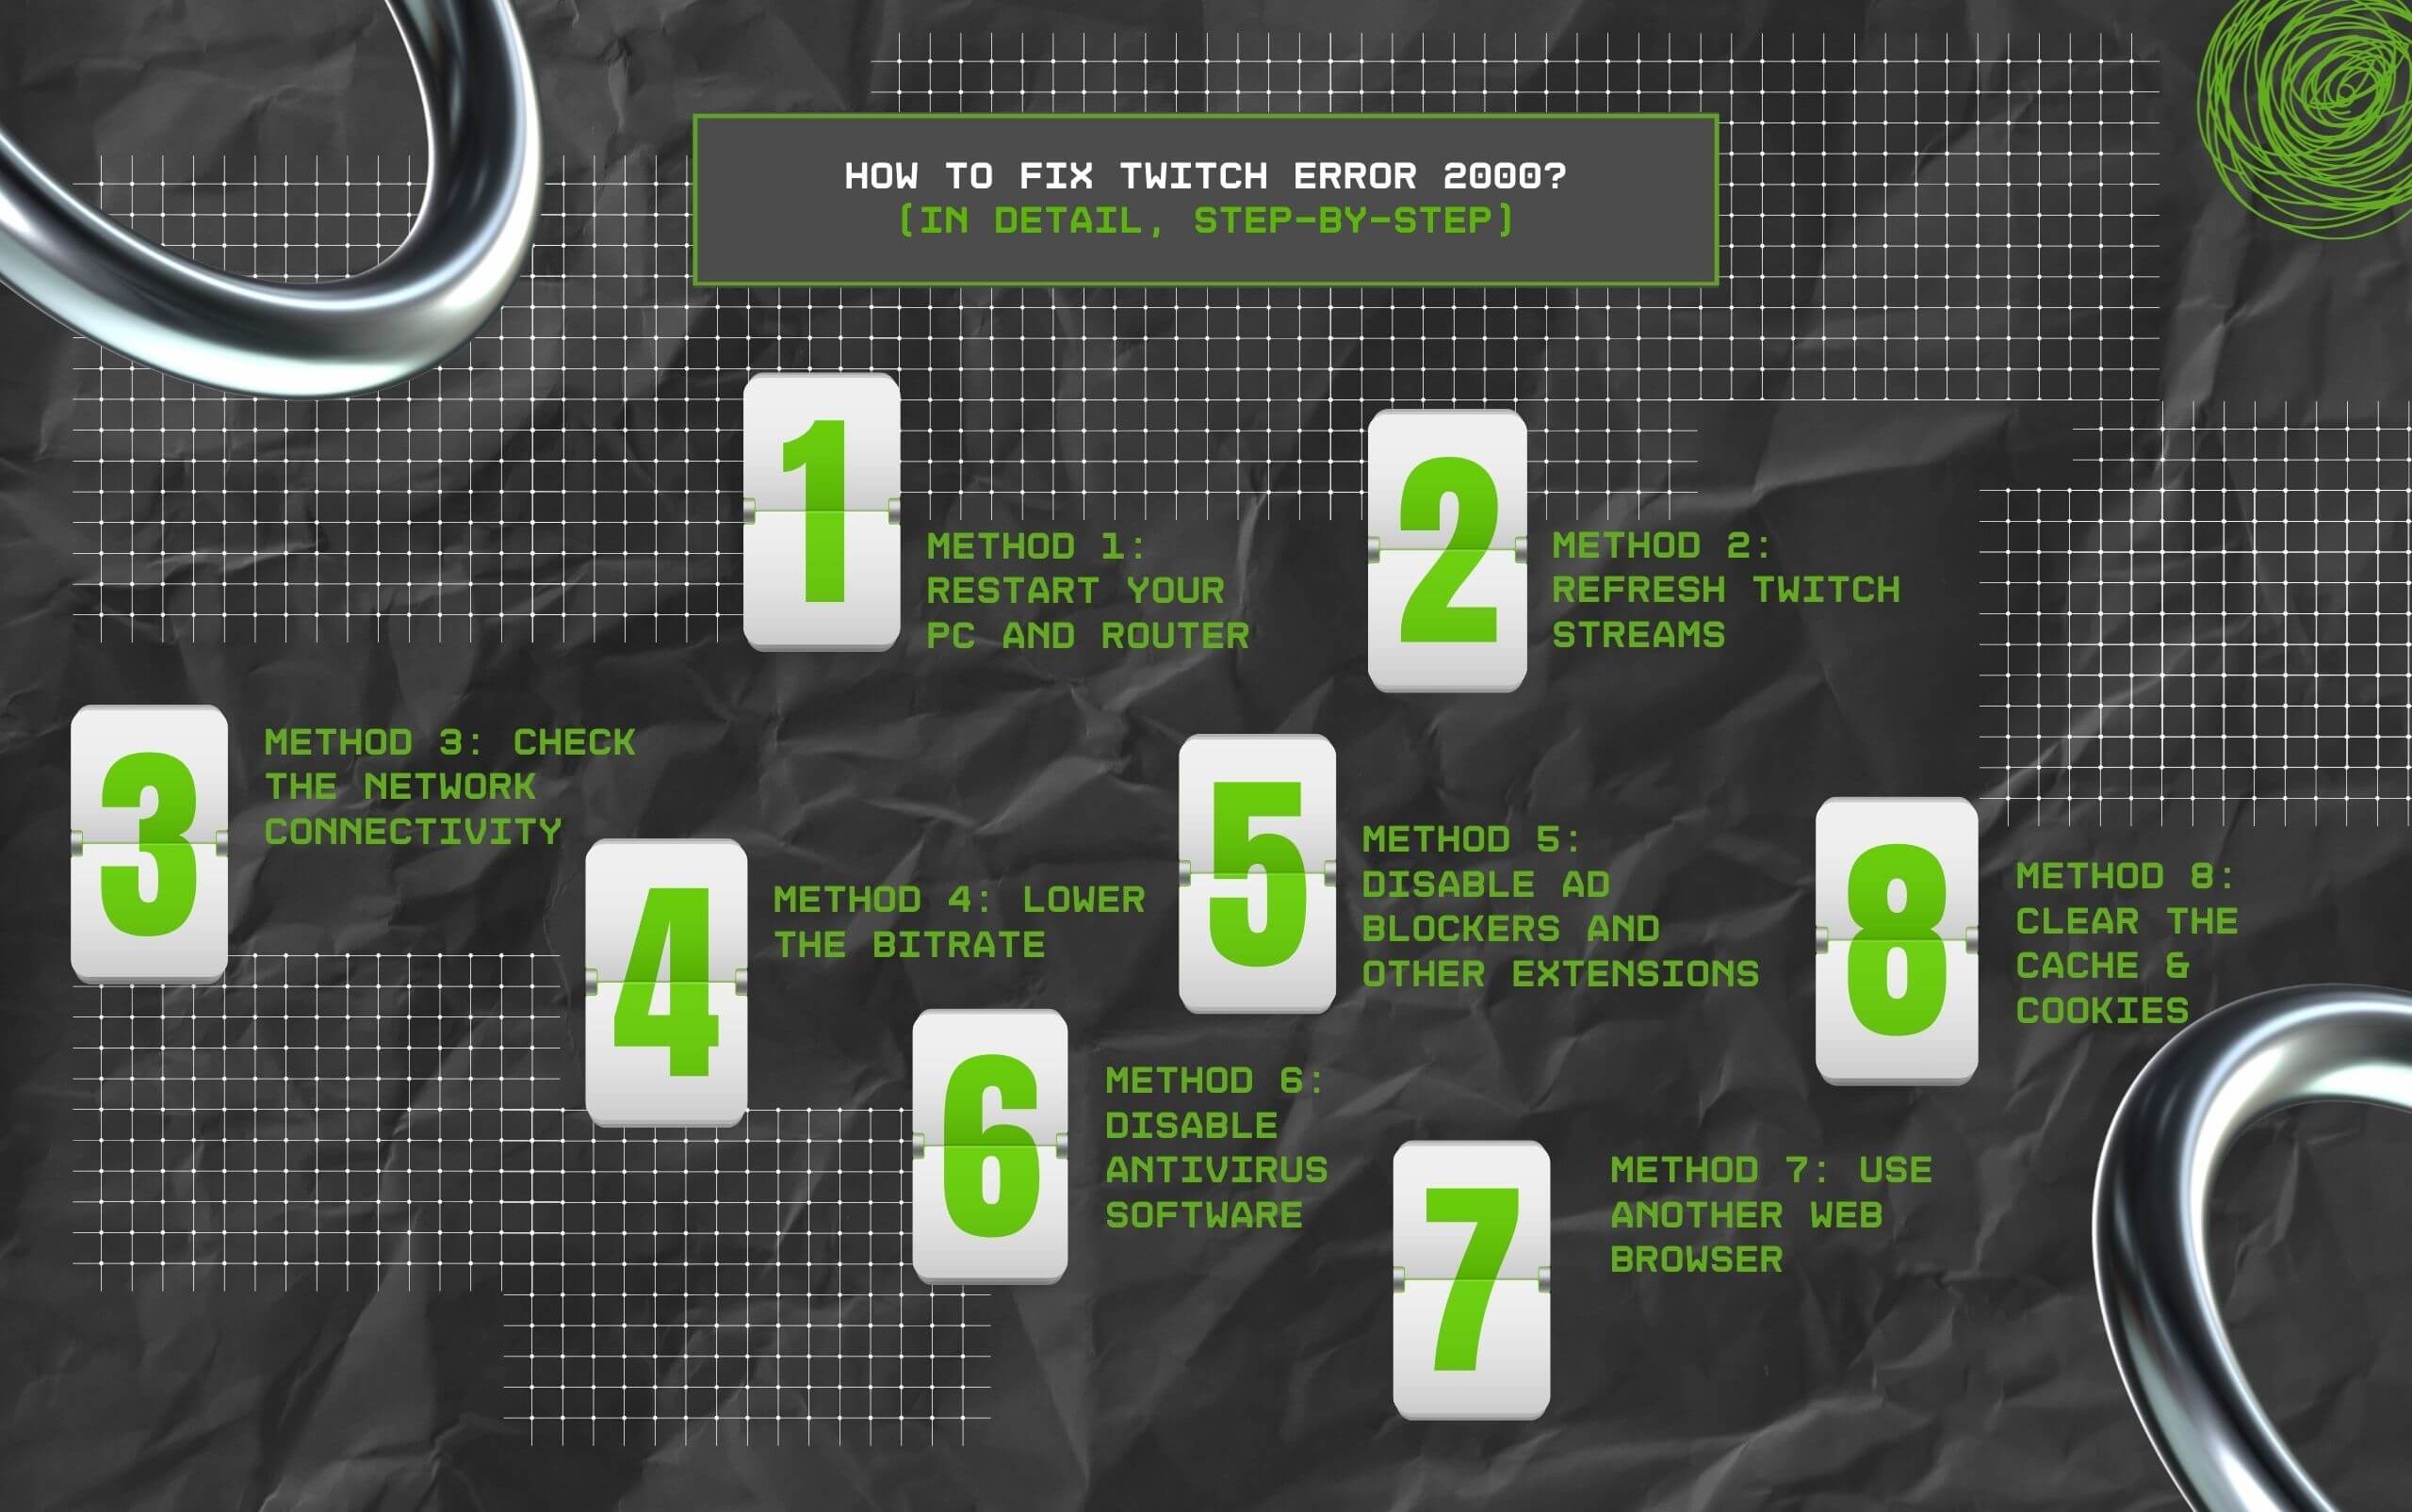
This is perhaps the most basic thing to do once you face any problem on Twitch.
On that note, to restart your computer,
Similarly, to restart the router,
Once you can restart your PC and router, try watching streams on Twitch to see if the issue has disappeared.
Once you receive the error message, you can just refresh the screen to check if the problem disappears. So, either tap on the refresh icon on your screen or hit F5 on the keyboard. This will easily reload Twitch appropriately on your screen, fixing the issue.
On that note, to refresh Twitch,
It might seem like a simple solution. But it does work at times, letting you watch Twitch videos without any issues.
If refreshing Twitch doesn’t work, check your network connectivity.
So, it is best to ensure that your device has a proper internet connection – and more importantly, there are no glitches with the connectivity.
Moreover, if you are using Wi-Fi, move closer to the router and check whether that improves connectivity. Also, if you are using a mobile device, you can try temporarily disconnecting from the main network and reconnecting.
Additionally, if you are using any wired connection, restart your router and network modem.
If you stream on Twitch and your audience has reported a problem with Twitch error 2000, consider reducing the bitrate to 6,000 or lower to improve the situation.
Many streamers have tried streaming above Twitch’s maximum bitrate limit, under the assumption that Twitch has no way to stop them. Also, many streamers think it is a sort of myth.
But the reality is something different.
Streaming above Twitch’s maximum bitrate limit will cause lag in your stream and severely impact the display.
Additionally, if you are just a viewer and experiencing a network issue with only one specific stream, this is probably the cause. Sadly, in this case, you cannot resolve the issue; instead, you can get in touch with the streamer and inform them of the same.
So, this is another common problem: browser extensions can cause issues with your Twitch account.
As a result, to find out if that’s the case, you can disable these extensions and reload the page.
Also, many users try blocking advertisements with ad blockers on Twitch. I’ll suggest disabling these ad blockers – at least temporarily – to ensure it does not cause the network error.
Plus, if you do not like any ads, then you can always click on ‘subscribe’ to get rid of them.
On that note, if you are using Chrome, then here’s how to remove your browser extensions:
Once you have removed all the extensions you don’t need, refresh Twitch to check if the network error has disappeared.
On that note, if you are using Firefox, then here’s how to remove your browser extensions:
Once you have removed all the extensions you don’t need, refresh Twitch to check if the network error has disappeared.
On that note, if you are using Edge, then here’s how to remove your browser extensions:
Once you have removed all the extensions you don’t need, refresh Twitch to check if the network error has disappeared.
On that note, if you are using Safari, then here’s how to remove your browser extensions:
Once you have removed all the extensions you don’t need, refresh Twitch to check if the network error has disappeared.
On that note, if you are using Opera, then here’s how to remove your browser extensions:
Also, it is possible that the antivirus software you are using is actually interfering with your Twitch experience.
You can fix this issue. How? By temporarily disabling the antivirus software in your browser and reloading Twitch.
On this note, here’s how you can disable an antivirus software from your browser:
If you are still facing issues, then try to access Twitch from a different browser. So, if you were using Google Chrome, you can switch to Microsoft Edge or Firefox. This might fix the issue.
Also, I have tried this not just for accessing Twitch but for some other platforms as well, and it always works without fail.
Looks like you are still facing some issues. How about clearing your browser’s cache, cookies, and data from other websites? This might fix the Twitch error 2000.
On that note, if you are using Chrome, then here’s how to clear your browsing data:
Once the process is complete, restart Chrome and check whether it resolves the issue you were experiencing on Twitch.
On that note, if you are using Firefox, then here’s how to clear your browsing data:
Once the process is complete, restart Firefrox and check whether it resolves the issue you were experiencing on Twitch.
On that note, if you are using Chrome, then here’s how to clear your browsing data:
Once the process is complete, restart Edge and check whether it resolves the issue you were experiencing on Twitch.
Barsha is a seasoned digital marketing writer with a focus on SEO, content marketing, and conversion-driven copy. With 8+ years of experience in crafting high-performing content for startups, agencies, and established brands, Barsha brings strategic insight and storytelling together to drive online growth. When not writing, Barsha spends time obsessing over conspiracy theories, the latest Google algorithm changes, and content trends.
View all Posts

Top SEO Companies For Small Business In India
Jul 15, 2026
MoFu Content Explained: What It Is, Why It Ma...
Jul 14, 2026
BoFu Content Explained: What It Is, Why It Co...
Jul 13, 2026
MultiLocation SEO: How To Rank Every Business...
Jul 11, 2026
Why Nationwide SEO Services Matter For Brands...
Jul 10, 2026